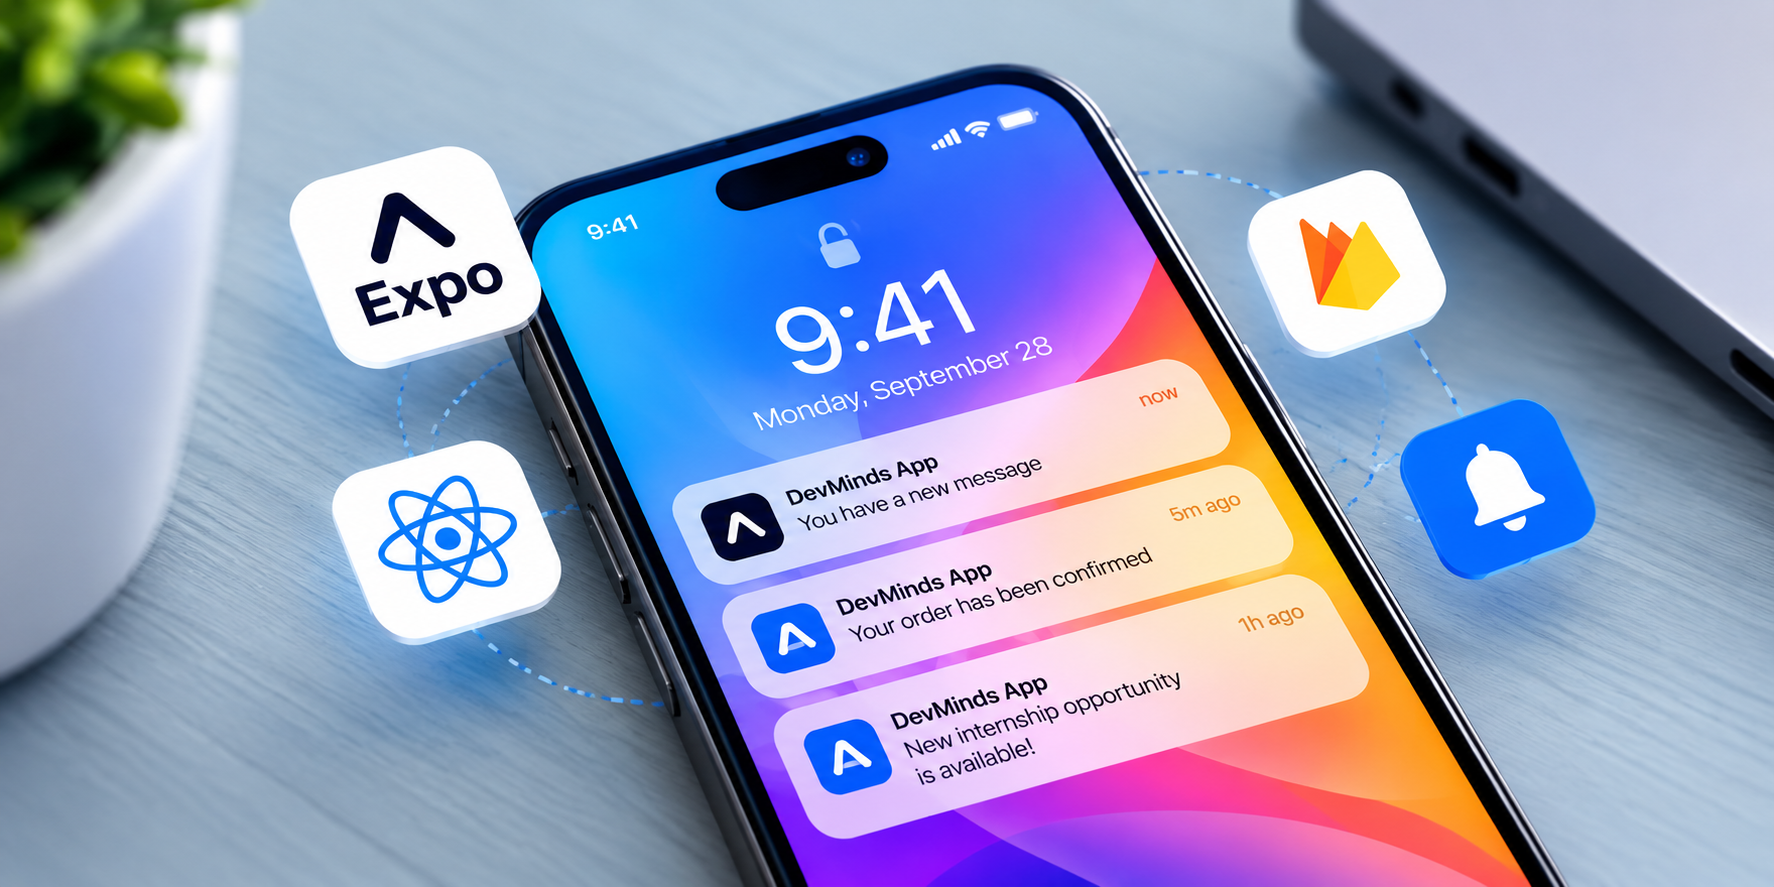
Setting up push notifications in React Native with Expo is straightforward when you follow the modern Firebase Cloud Messaging (FCM) v1 flow. This guide walks through the exact 4-step frontend setup: generating Google & Firebase credentials, configuring EAS credentials via CLI, writing a clean usePushNotification custom hook, and registering the token with your backend API.
What You'll Learn
- Creating Firebase & Google credentials (
google-services.json& service account key) - Configuring EAS credentials using
eas credentialson Android - Writing a production-ready
utils/usePushNotification.tsTypeScript hook - Registering the Expo Push Token with your backend API
- Testing delivery in seconds with the Expo Push Tool
Step 1: Generate Firebase & Google Service Credentials
Google Cloud Messaging requires two credential files from the Firebase Console for Android push notifications:
- Create a Firebase Project: Go to Firebase Console and create a project (e.g.
DevMinds Mobile). - Add an Android App:
- Enter your Android package name matching your
app.json(for example,com.devminds.app). - Register the app and download the
google-services.jsonfile. - Move
google-services.jsoninto your Expo project root directory.
- Enter your Android package name matching your
- Generate Firebase Service Account Key:
- In Firebase Console, click the Gear Icon (Project Settings) → Service accounts tab.
- Click Generate new private key and confirm.
- A JSON file (e.g.,
devminds-firebase-adminsdk-xxxx.json) will download to your computer. Keep this file safe; you will upload it to EAS in Step 2.
Step 2: Configure EAS Credentials & app.json
Expo Application Services (EAS) manages the cloud credentials needed to dispatch notifications via FCM HTTP v1.
1. Run EAS Credentials CLI
In the root directory of your Expo project, run:
eas credentials
Follow the interactive prompts:
- Select platform: Android
- Select build profile: production (or development)
- Select credential type: Google Service Account / Push Notifications (FCM V1)
- Choose Upload a private key and select the Firebase Service Account JSON file you downloaded in Step 1.
EAS will securely encrypt and link your service account to your Expo project.
2. Configure app.json
Link the downloaded google-services.json file and configure the expo-notifications plugin in app.json:
{
  "expo": {
    "name": "DevMinds App",
    "slug": "devminds-app",
    "android": {
      "package": "com.devminds.app",
      "googleServicesFile": "./google-services.json"
    },
    "plugins": [
      [
        "expo-notifications",
        {
          "icon": "./assets/notification-icon.png",
          "color": "#0052E0",
          "sounds": ["./assets/sounds/notification.wav"]
        }
      ]
    ],
    "extra": {
      "eas": {
        "projectId": "your-eas-project-id"
      }
    }
  }
}
Step 3: Implement utils/usePushNotification.ts Hook
Install the required Expo modules:
npx expo install expo-notifications expo-device expo-constants
Configure the default notification behavior and build a reusable React hook inside utils/usePushNotification.ts:
// utils/usePushNotification.ts
import { useState, useEffect, useRef } from 'react';
import { Platform } from 'react-native';
import * as Device from 'expo-device';
import * as Notifications from 'expo-notifications';
import Constants from 'expo-constants';

// Configure foreground notification presentation
Notifications.setNotificationHandler({
  handleNotification: async () => ({
    shouldShowAlert: true,
    shouldPlaySound: true,
    shouldSetBadge: false,
  }),
});

export interface PushNotificationState {
  expoPushToken?: string;
  notification?: Notifications.Notification;
}

export function usePushNotification() {
  const [expoPushToken, setExpoPushToken] = useState<string | undefined>();
  const [notification, setNotification] = useState<Notifications.Notification | undefined>();

  const notificationListener = useRef<Notifications.Subscription>();
  const responseListener = useRef<Notifications.Subscription>();

  async function registerForPushNotificationsAsync(): Promise<string | undefined> {
    if (!Device.isDevice) {
      console.warn('Push notifications require a physical device, not an emulator.');
      return undefined;
    }

    // Configure Android notification channel
    if (Platform.OS === 'android') {
      await Notifications.setNotificationChannelAsync('default', {
        name: 'Default',
        importance: Notifications.AndroidImportance.MAX,
        vibrationPattern: [0, 250, 250, 250],
        lightColor: '#0052E0',
      });
    }

    // Check existing permissions
    const { status: existingStatus } = await Notifications.getPermissionsAsync();
    let finalStatus = existingStatus;

    // Request permissions if not granted
    if (existingStatus !== 'granted') {
      const { status } = await Notifications.requestPermissionsAsync();
      finalStatus = status;
    }

    if (finalStatus !== 'granted') {
      console.warn('Failed to obtain push notification permissions.');
      return undefined;
    }

    // Retrieve EAS Project ID
    const projectId =
      Constants?.expoConfig?.extra?.eas?.projectId ??
      Constants?.easConfig?.projectId;

    if (!projectId) {
      console.warn('EAS Project ID not found in app.json extra config.');
    }

    try {
      const token = (
        await Notifications.getExpoPushTokenAsync({
          projectId,
        })
      ).data;

      return token;
    } catch (error) {
      console.error('Error fetching Expo push token:', error);
      return undefined;
    }
  }

  useEffect(() => {
    registerForPushNotificationsAsync().then((token) => {
      setExpoPushToken(token);
    });

    // Foreground notification listener
    notificationListener.current = Notifications.addNotificationReceivedListener(
      (receivedNotification) => {
        setNotification(receivedNotification);
      }
    );

    // Tap/response notification listener
    responseListener.current = Notifications.addNotificationResponseReceivedListener(
      (response) => {
        const data = response.notification.request.content.data;
        console.log('User interacted with notification. Custom data:', data);
      }
    );

    return () => {
      if (notificationListener.current) {
        Notifications.removeNotificationSubscription(notificationListener.current);
      }
      if (responseListener.current) {
        Notifications.removeNotificationSubscription(responseListener.current);
      }
    };
  }, []);

  return {
    expoPushToken,
    notification,
  };
}
Step 4: Register Token with Your Backend API
Once your hook receives the expoPushToken, dispatch it to your backend API endpoint (e.g. /api/notifications/register-token or /api/push-notification) alongside the authenticated user ID:
// App.tsx or src/screens/HomeScreen.tsx
import React, { useEffect } from 'react';
import { View, Text, StyleSheet } from 'react-native';
import { usePushNotification } from './utils/usePushNotification';

export default function App() {
  const { expoPushToken, notification } = usePushNotification();

  useEffect(() => {
    if (expoPushToken) {
      registerTokenWithBackend(expoPushToken);
    }
  }, [expoPushToken]);

  const registerTokenWithBackend = async (pushToken: string) => {
    try {
      const response = await fetch('https://api.devminds.in/api/notifications/register-token', {
        method: 'POST',
        headers: {
          'Content-Type': 'application/json',
          Authorization: 'Bearer YOUR_AUTH_TOKEN',
        },
        body: JSON.stringify({
          pushToken,
          devicePlatform: 'android',
        }),
      });

      const result = await response.json();
      console.log('Push token successfully registered:', result);
    } catch (err) {
      console.error('Failed to register push token with backend:', err);
    }
  };

  return (
    <View style={styles.container}>
      <Text style={styles.heading}>Expo Push Notifications Ready</Text>
      <Text style={styles.subtext}>
        {expoPushToken ? 'Token Registered' : 'Requesting Push Token...'}
      </Text>
      {notification && (
        <View style={styles.card}>
          <Text style={styles.cardTitle}>{notification.request.content.title}</Text>
          <Text style={styles.cardBody}>{notification.request.content.body}</Text>
        </View>
      )}
    </View>
  );
}

const styles = StyleSheet.create({
  container: { flex: 1, justifyContent: 'center', alignItems: 'center', padding: 20 },
  heading: { fontSize: 18, fontWeight: 'bold', color: '#0F172A', marginBottom: 8 },
  subtext: { fontSize: 14, color: '#64748B' },
  card: { marginTop: 16, padding: 14, backgroundColor: '#EFF6FF', borderRadius: 12 },
  cardTitle: { fontWeight: '700', color: '#1E40AF', marginBottom: 4 },
  cardBody: { color: '#3B82F6', fontSize: 13 },
});
Step 5: Test Push Delivery in 60 Seconds
You can verify that your pipeline works immediately without triggering a backend build:
- Copy the generated token:
ExponentPushToken[xxxxxxxxxxxxxxxxxxxxxx] - Open the Expo Push Notification Tool.
- Paste the token in the Expo Push Token field.
- Enter a test Title and Message.
- Click Send Notification.
The notification will appear instantly on your physical test device with your custom sound, icon color, and title.
Summary Checklist
| Step | Action | Required Output |
|---|---|---|
| 1 | Firebase Console | Download google-services.json & Service Account Key |
| 2 | CLI Setup | Run eas credentials → Upload Service Account JSON |
| 3 | Project Config | Declare googleServicesFile & expo-notifications plugin in app.json |
| 4 | Custom Hook | Implement utils/usePushNotification.ts with channels & listeners |
| 5 | API Registration | Call POST /api/notifications/register-token with pushToken |